Color Palette:
Change the
Backgroundcolor to
#ffffff
Layers - New Raster
Layer
Fill with the
Backgroundolor
(Right Mouse Click)
Layers - New Mask
Layer - From Image -
Mask
MD 028
- Source
luminance Checked -
Invert mask data NOT checked
Effects - Edge
Effects - Enhance
Layers - Merge - Merge Group
03
Color Palette:
Change the
Backgroundcolor to
#000000 
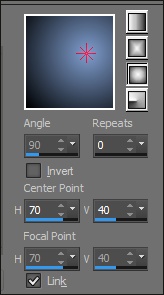
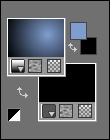
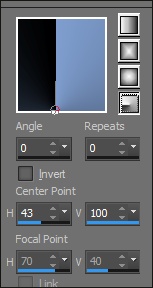
Change the
Foregorund/Background Gradient
(Corel_06_029) to Style:
Radial
Layers - New Raster
Layer (raster2)
Selections - Load/Save Selection -
Load Selection From Alpha Channel -
Sélection #1
Fill the Selection
with the Gradient 
Effects - Plugins -
Xero - Alienmist - Default settings
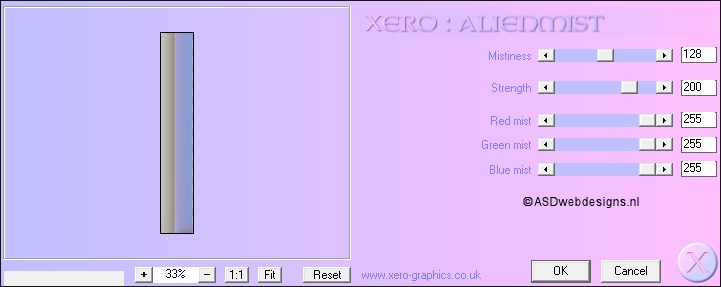
Selections - Select None
04
Layers - Duplicate
Layer Palette - Click on the Second Layer from the Top
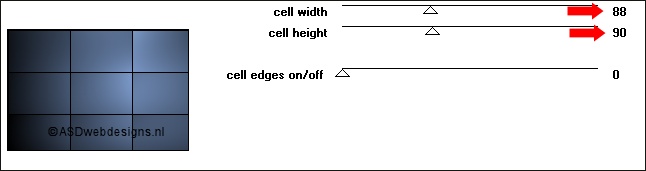
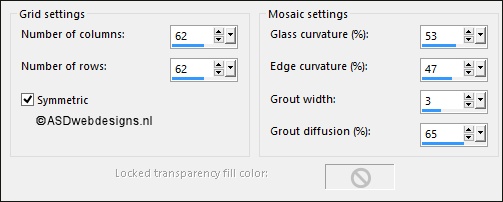
Effects - Texture Effects - Mosaic
Glass
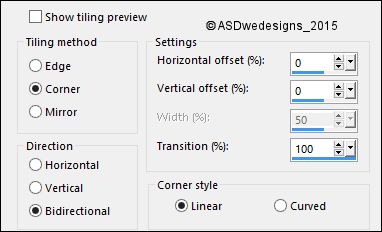
Effects - Image Effects - Seamless
Tiling
05
Layer Palette - Click on the Top
Layer
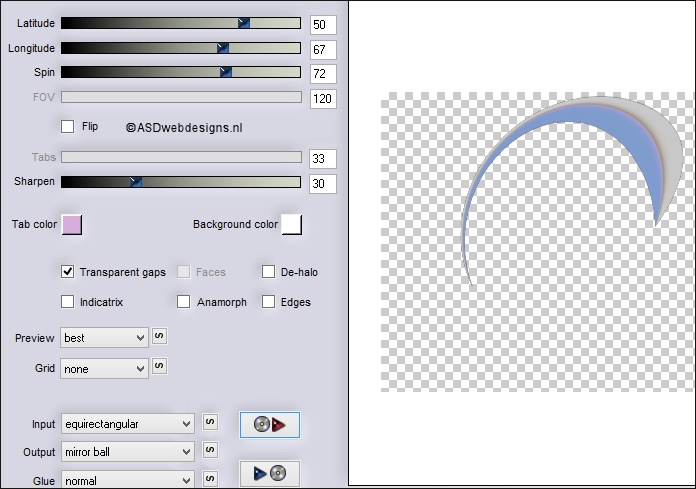
Effects - Plugins
- Flaming Pear -
Flexify 2 -
Click on the Red
Arrow
 and load Preset
preset-zhenga
and load Preset
preset-zhenga
Or if this is not
working for you with
these settings:
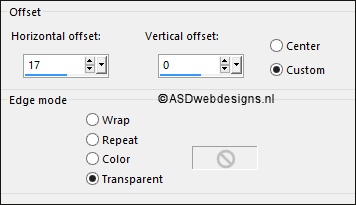
Effects
- Image Effects - Offset
Effects - Plugins -
Alien Skin Eye Candy
5 - Impact -
Backlight
- Settings
Tab:
Preset
zhenga-nicole
Tip: You can
change the colors at
the Color Tab
Layer Palette -
Double click on this Layer and set the Blend Mode to
"Overlay" and the Layer Opacity to 70
06
Layers - Duplicate
Image -
Mirror -
Mirror Vertical (
Image - Flip in
previous PSP
Versions)
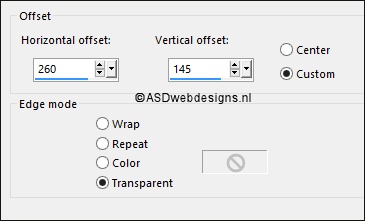
Effects
- Image Effects - Offset
Set
the Opacity of this Layer to
100
07
Layers
- New Raster Layer
Selections - Load/Save Selection -
Load Selection From Alpha Channel -
Sélection #2
Fill with the Gradient
Selections - Select
None
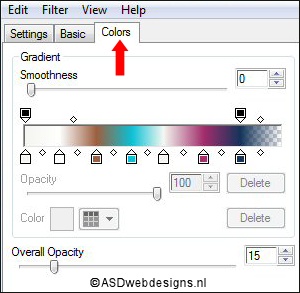
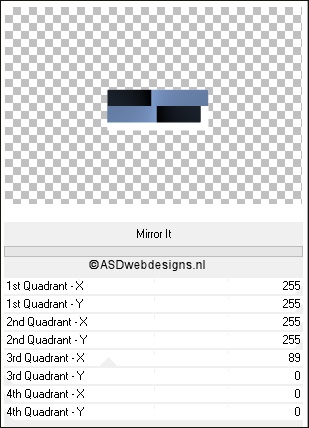
Effects - Plugins -
<I.C.NET
Software> - Filters Unlimited 2.0 -
Filter Factory D -
Mirror It
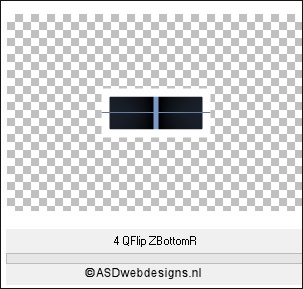
Effects - Plugins -
<I.C.NET
Software>
Filters
Unlimited 2.0 -
&Bkg Kaleidoscope> -
4 QFlip ZBottomR
Effects - Plugins -
MuRa's Meister -
Copies
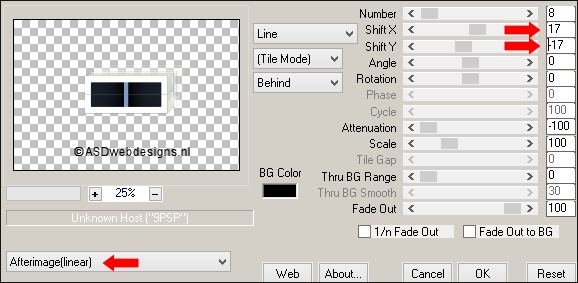
Image - Mirror -
Mirror
Horizontal (
Image - Mirror
in previous PSP
Versions)
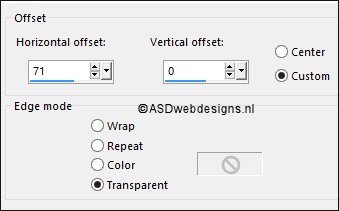
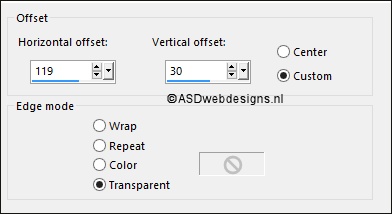
Effects - Image
Effects - Offset
Effects - 3D Effects - Drop
Shadow - Vertical 0 -
Horizontal 0 - Opacity 60
- Blur - 40 -
Color - #000000
08
Layers - New Raster Layer
Selections - Load/Save Selection -
Load Selection From Alpha Channel -
Sélection #3
Open Image "crea
n443Textures_3482_by_fa_stock"
Edit - Copy
On your work image: Edit - Paste
Into Selection
Layer Palette -
Double click on this Layer and set the Blend Mode to
"Luminance (Legacy)" or
"Luminance"
Selections - Select None
09
Open Tube "
nicole-mist-deco4-2013"
Edit - Copy
On your work image: Edit - Paste
As New Layer
Move like this:
10
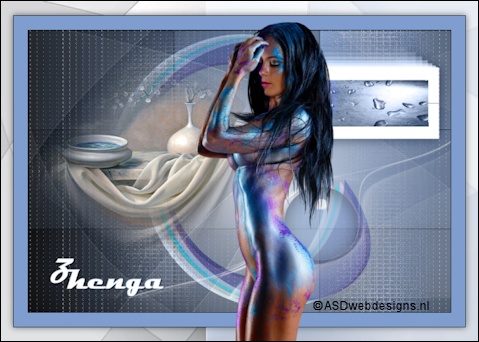
Open Tube "text-zhenga
"
Edit - Copy
On your work image: Edit - Paste
As New Layer
Effects - Image
Effects - Offset

11
Color Palette:
Change the
Backgroundcolor to
#ffffff
Layers
- New Raster Layer
Fill with the
Backgroundcolor
Layers - New Mask
Layer - From Image -
Narah_mask_0861 - Source
luminance Checked -
Invert mask data NOT
checked
Adjust - Sharpness -
Sharpen
Layers - Merge - Merge Group
Image - Mirror -
Mirror
Horizontal (
Image - Mirror
in previous PSP
Versions)
Effects - Image Effects - Offset
12
Layers - New Raster Layer
Selections - Load/Save Selection -
Load Selection From Alpha Channel -
Sélection #4
Flood Fill Tool
 - Set the Opacity to 32
Fill the Selection
with the Backgroundcolor
Set the Opacity of the Flood Fill Tool back to 100
Effects - Plugins -
Alien Skin Eye Candy
5 - Impact - Glass
- Settings
Tab:
Preset
zhenga-nicole-glass
(If you
use different colors
you can change the
colors at the Basic
Tab)
Selections - Select None
13
Color Palette:
Change the
Backgroundcolor to
#000000
Image - Add Borders
- Symmetric checked
- 1 px - #000000
Image - Add Borders
- Symmetric checked
- 30 px -#7f9ecf

Image - Add Borders
- Symmetric checked
- 1 px - #000000

Selections - Select
All
Image - Add Borders
- Symmetric checked
- 30 px -#ffffff
Selections - Invert
Layers - New Raster
Layer
Fill the Selection
with the
Foreground Gradient
Layers - New Mask
Layer - From Image -
Mask
MD 028
- Source
luminance Checked -
Invert mask data NOT checked
Layers - Merge - Merge Group
Effects - Edge
Effects - Enhance
Selections - Invert
Effects - 3D Effects - Drop
Shadow - Vertical & Horizontal
0 - Opacity
30
- Blur - 20 -
Color - #000000
Selections - Select
None
Layer Palette -
Double click on this Layer and set the Blend Mode to
"Multiply"
14
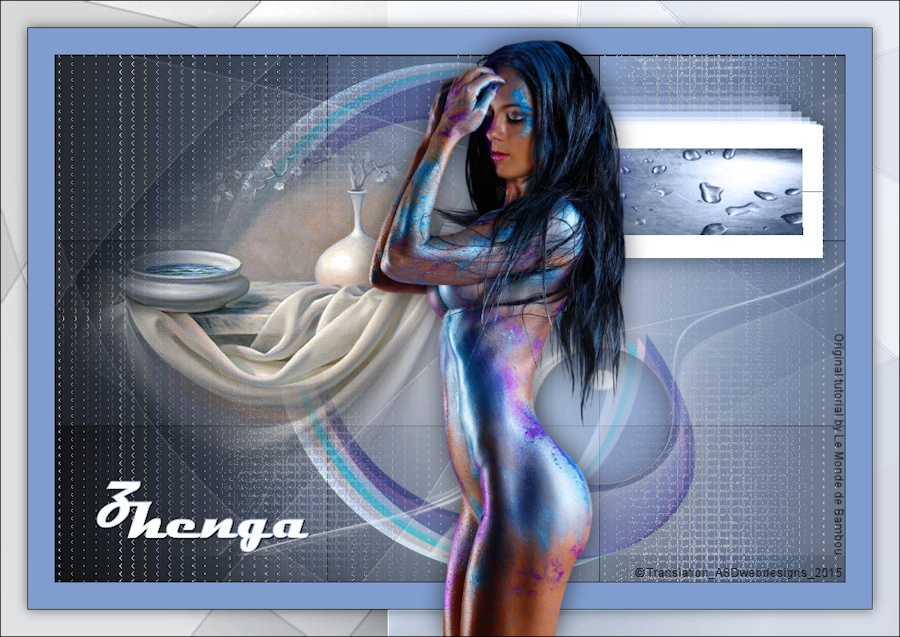
Open Tube "
Tube
corinne vicaire - femme 141- 2 -
2014"
Edit - Copy
On your work image: Edit - Paste
As New Layer
Move like this:
Effects - 3D Effects - Drop
Shadow - Vertical & Horizontal
0 - Opacity 60
- Blur - 40 -
Color - #000000
15
Image - Add Borders
- Symmetric checked
- 1 px - #000000